Whole Foods Recipes: Homemade Chicken Nuggets
Last updated: March 2026
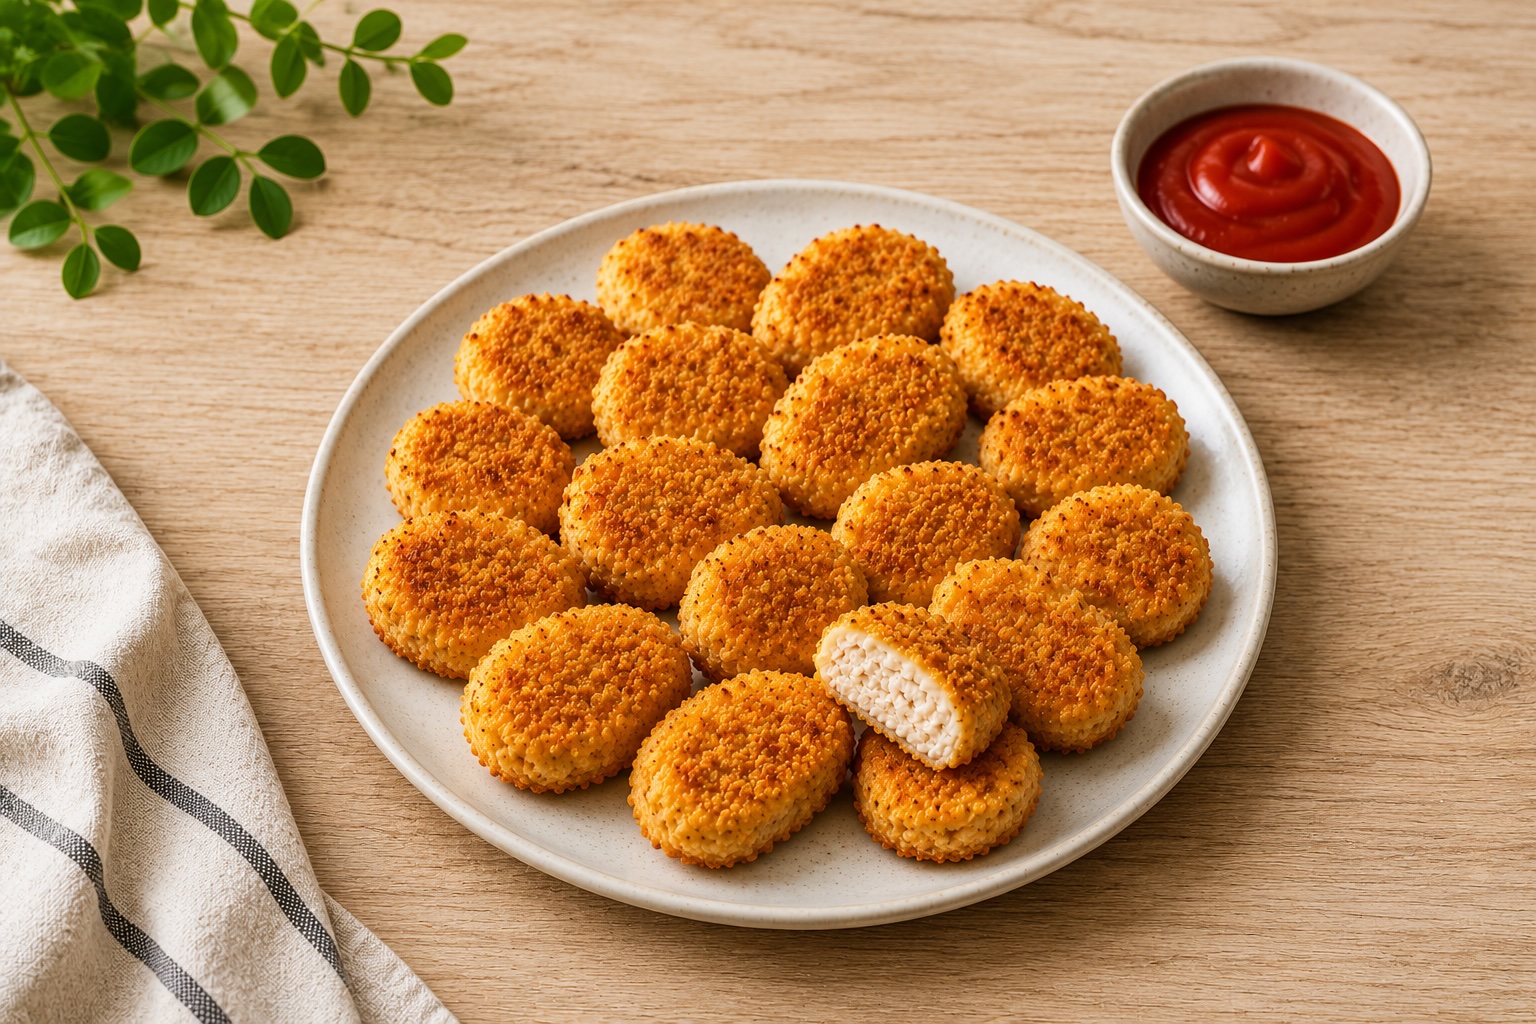
A whole-food version of homemade chicken nuggets using blended chicken, eggs, breadcrumbs, and oven baking for a softer, more familiar texture. This version focuses on simple ingredients, kid acceptance, and replacing heavily processed frozen nuggets with a practical household alternative.
- Blended chicken works better: creates a softer, smoother texture closer to familiar frozen nuggets.
- Oven baking simplifies cooking: easier batch cooking with less mess and more even results.
- Fine breadcrumbs matter: a smaller crumb texture creates a smoother coating and more classic nugget feel.
- Chilling helps: refrigerating shaped nuggets before breading improves structure and coating adhesion.
Purpose
This recipe replaces one of the most processed foods in the standard family meal rotation with a simple whole-food version. The goal is to create a kid-friendly chicken nugget that still feels familiar while improving ingredient quality, oil quality, and overall transparency.
Total time
- Prep time: about 20 minutes
- Cook time: about 15–20 minutes
- Total: about 35–40 minutes
Ingredients
- 1.5–2 lbs chicken thighs
- 1 egg
- 1/2 cup fine breadcrumbs (mixed into chicken)
- 1 cup flour
- 2 eggs for coating
- 1.5 cups fine breadcrumbs for coating
- Salt
- Avocado oil spray or light brushing for baking
Breadcrumbs (Homemade — Recommended)
For best results, use homemade breadcrumbs instead of store-bought versions. This keeps the recipe fully within a whole-food framework and improves both flavor and texture.
If you already have homemade bread, this becomes a simple extension of your existing system. See the homemade bread recipe for the base.
Method
- Use bread that is at least 2 days old
- Cut into slices
- Toast until fully dry and lightly crisp
- Blend in a blender or food processor until crumb texture forms
Storage
- Store in an airtight container in the refrigerator
- Use within up to 7 days
Why this matters
- Avoids preservatives and low-quality oils in packaged breadcrumbs
- Creates better texture and flavor
- Maintains full control over ingredients
Equipment
- Food processor or blender
- Knife and cutting board
- Mixing bowl
- Three bowls for breading
- Sheet pan
- Parchment paper
Preparation
Cut the chicken thighs into medium pieces and blend briefly in a food processor or blender until a smooth but still textured mixture forms. Avoid turning it into a completely uniform paste.
Transfer the chicken to a bowl and mix with 1 egg, salt, and fine breadcrumbs. Stir until the mixture becomes easy to shape.
Form small nugget shapes by hand or spoon and place them on a plate or tray. Refrigerate for about 15–20 minutes to help the nuggets firm up before breading.
Set up three bowls for coating: flour in the first bowl, beaten eggs in the second, and fine breadcrumbs in the third.
Method
- Preheat oven to 425°F.
- Line a sheet pan with parchment paper.
- Remove chilled nuggets from the refrigerator.
- Coat each nugget first in flour, then egg, then fine breadcrumbs.
- Press the breadcrumbs lightly so the coating adheres evenly.
- Place nuggets on the sheet pan with space between each piece.
- Lightly spray or brush the nuggets with avocado oil.
- Bake about 8–9 minutes, then flip carefully.
- Lightly spray the second side if needed and continue baking another 7–9 minutes until golden and fully cooked.
- Let rest briefly before serving.
Finish
Serve hot. These work well as a family meal, a kid-friendly lunch, or part of a larger plate with potatoes, bread, fruit, or simple vegetables.
Notes
- Blending is intentional: this version prioritizes a softer texture and better kid acceptance over whole-muscle texture.
- Use fine breadcrumbs: coarse crumbs create more of a cutlet or milanesa texture.
- Chill before breading: this helps the nuggets hold shape and improves coating adhesion.
- Oven baking works best for batches: it creates more consistent results and reduces active cooking time.
- Homemade breadcrumbs recommended: using your own bread significantly improves quality and keeps the recipe fully whole-food.
Personal note
This recipe is meant to replace one of the most common ultra-processed convenience foods with something made from recognizable ingredients. It fits the broader goal of building a home food system where even the most familiar kid foods can be made with better quality and more control.
Next steps
Continue with more Whole Food Cooking.
This article focuses on general food quality and cooking with quality ingredients, not medical advice.